
Divorce Log
Making Documentation Easy
Divorce Log was created to make documentation easy for any
individual involved in a divorce or custody situation. It allows you
to keep all vital information in one place. Lawyers, child support
offices and psychologists may use this data when preparing your
case.
Our App Features
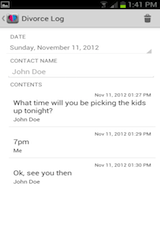
SMS Correspondence
Import all vital text messages and emails directly into the app.
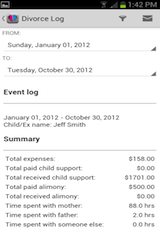
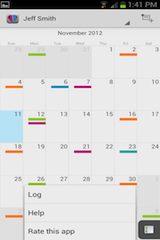
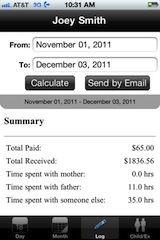
Detailed Log
Customize all entered data by selecting specific dates and categories that you wish to email or print.
Expenses
Keep track of all divorce related expenses. Add necessary details in the note field (i.e. co-pay's, child care, clothing, etc).
Child Support & Alimony
Store all payments, paid and received, in this category as a recurring or one-time event.
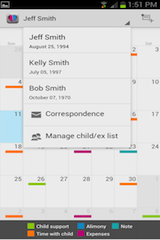
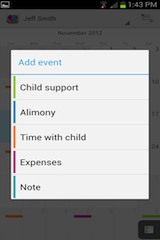
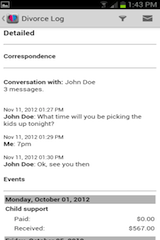
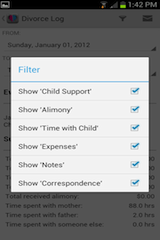
Screenshots


About Us
About Us
Divorce Log gives you an easy and convenient way to keep track of all incoming and outgoing child support/alimony payments, time spent with your child, expenses, and correspondence. The app is private and you control all data entered and who sees the information. All entries stored in the app can be forwarded directly to an email address so that you can send pertinent information to your attorney, child support office or recipient of your choice.
It is essential to document before, during and after divorce to ensure the best outcome of your case.
Our email: [email protected]